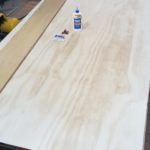
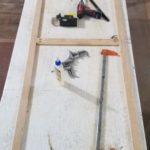
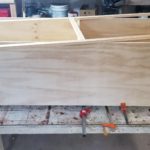
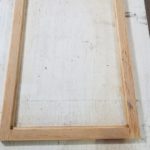
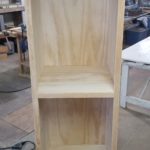
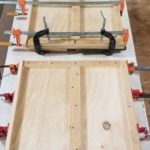
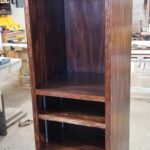
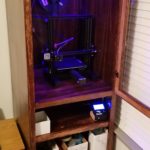
After having a 3D printer for awhile, I started doing the same thing that every other owner does. Start investigating modifications to make the printer even better! Among a few other smaller mods that could easily be printed, on the top of that list was an enclosure to help regulate environmental variables. I figured that I might as well build an entire dedicated cabinet next time I made it back to my family’s woodshop. I began by drawing out a rough sketch of how I wanted it to look to decide what supplies I would all need. The only items that I purchased were two 4ft x 8ft sheets of 1/2″ plywood, two hinges, one handle, plexiglass and red oak stain. Everything else I would use from old projects, scraps or salvaged wood that could be recycled. This was the first cabinet that I have ever made so it definitely was a learning process. It took a bit longer than I had first anticipated, but I love the end results!
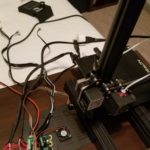
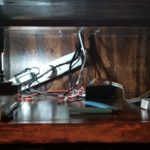
Moving all of the electronics from the 3D printer to the bottom section of the cabinet was definitely more of a challenge than I thought as well. During the process, I had tweaked some settings and ended up burning out the motor driver for the extruder on the motherboard. I wasn’t too upset about that though as I had been wanting to upgrade to the newer, “silent” motherboard anyways… yay for forced upgrades! Along with that upgrade, my extruder arm snapped, and the stock Bowden tube started melting from printing PETG so I went ahead and upgraded those as well!
After this entire process, I not only have a better, more reliable setup, but I understand how my 3D printer works far better than I ever would have anticipated going into this project. This has been an extremely fun, educational and fulfilling project! Now, on to more 3D printing projects!!


